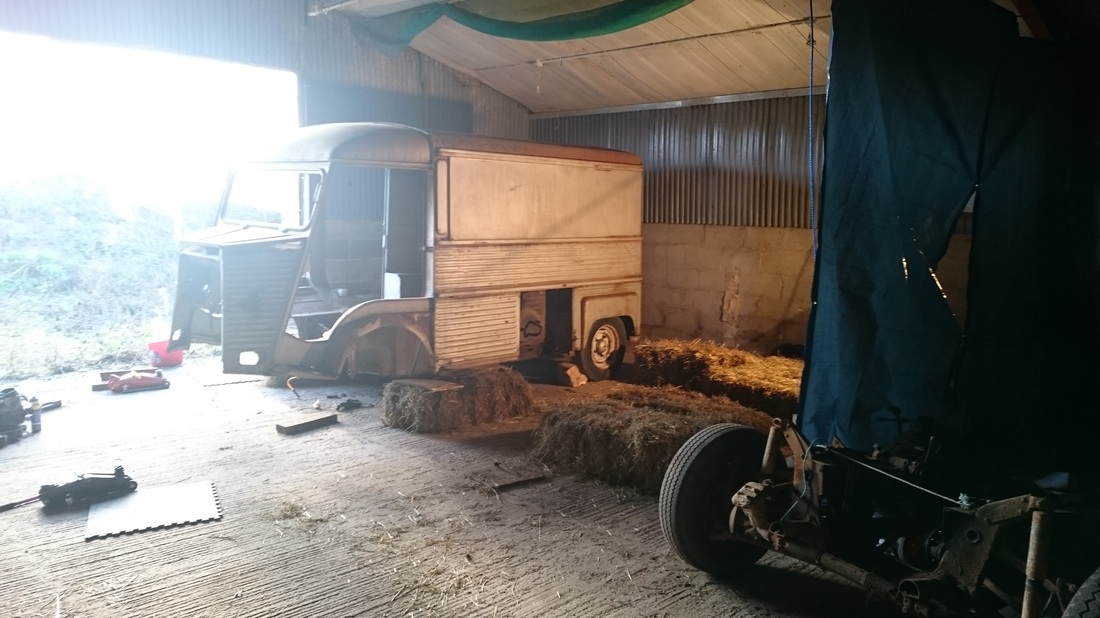
As with most things, life seems to get in the way of a good idea. Job changes, redundancies, house moves and a marriage all meant that Rusty has sat quietly for years, but no more!
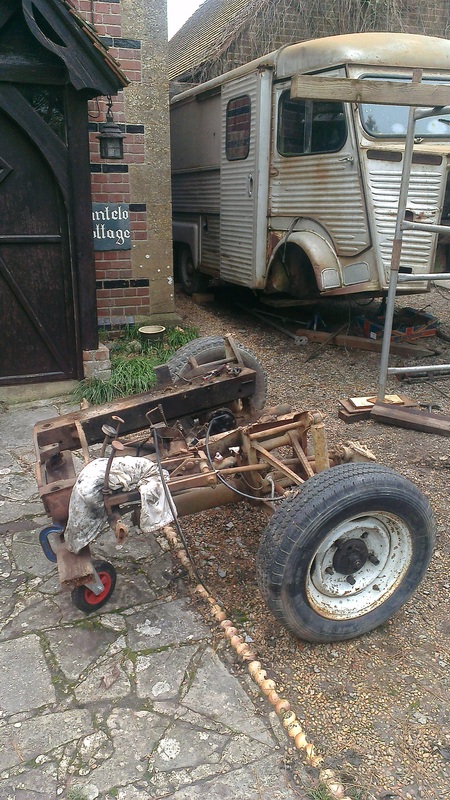
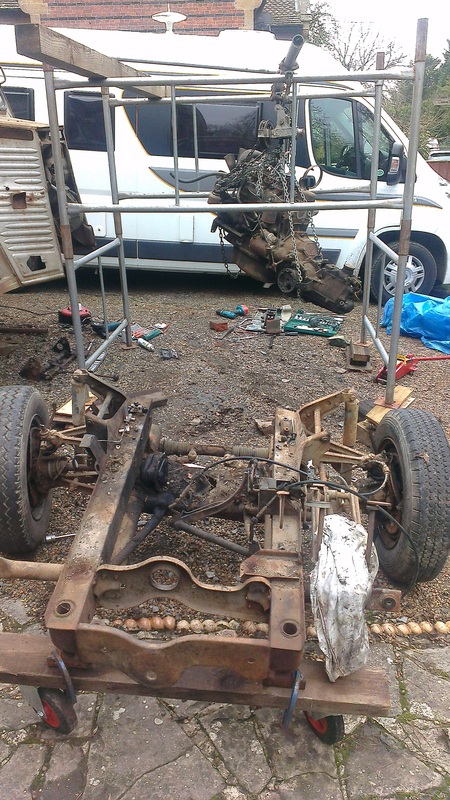
The plan now is to get the chassis done as soon as possible so that the van can be moved if required and worked on in a more daily basis.
The plan now is to get the chassis done as soon as possible so that the van can be moved if required and worked on in a more daily basis.
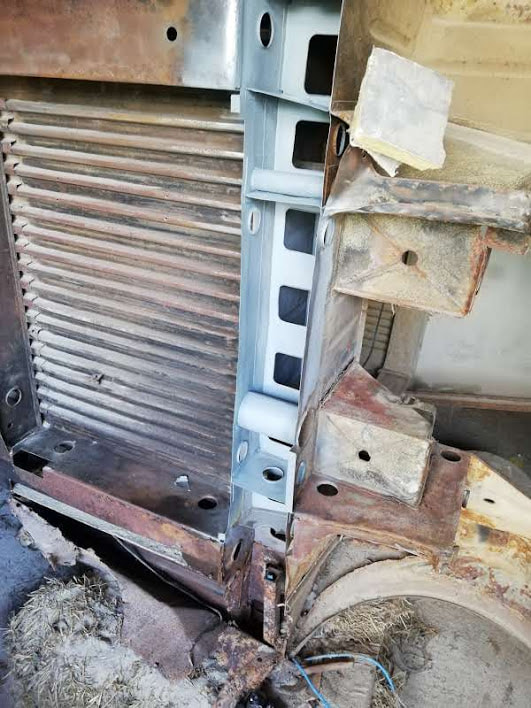
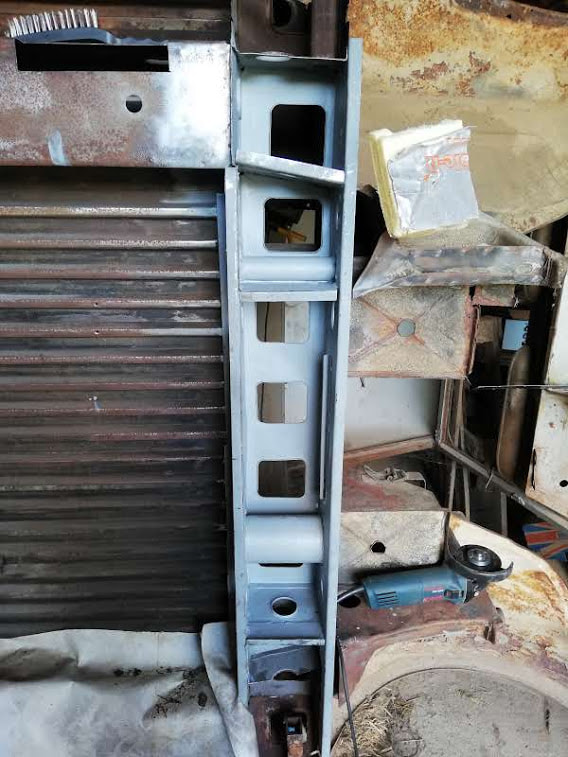
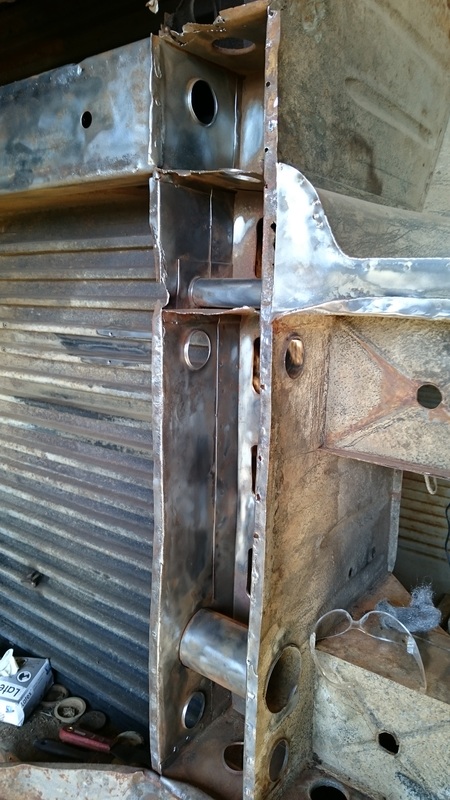
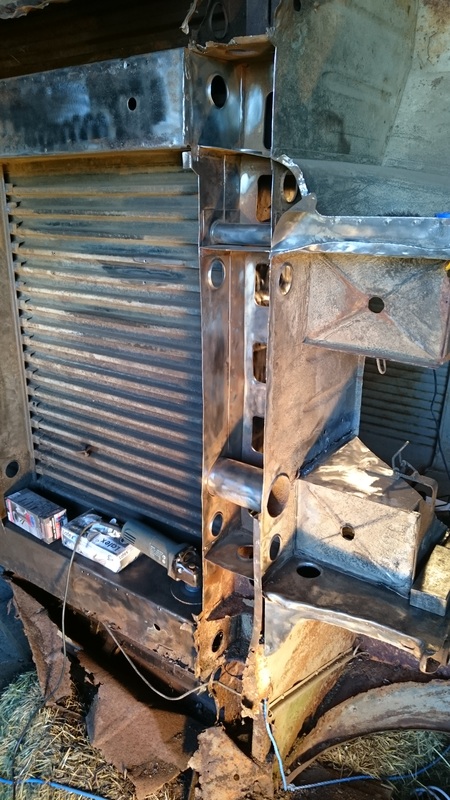
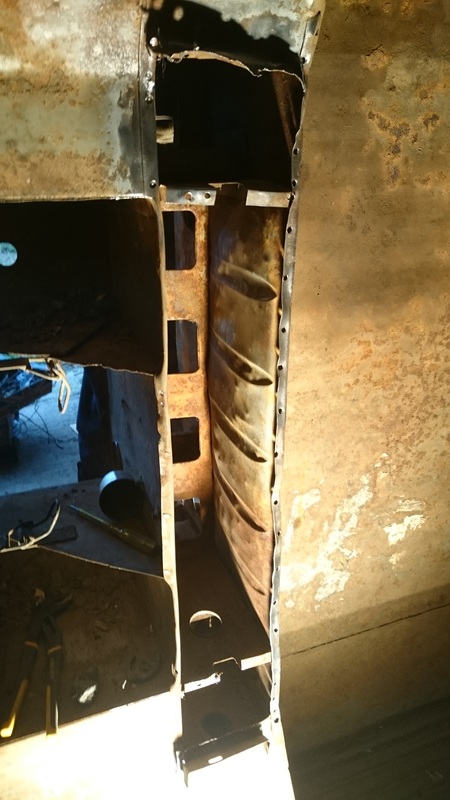
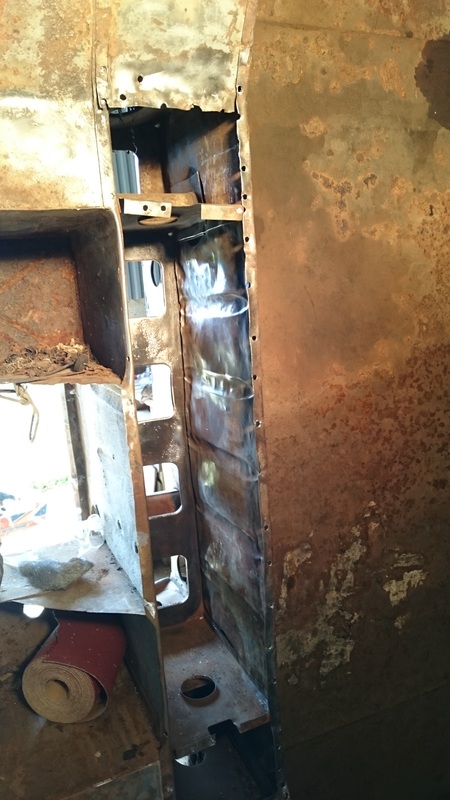
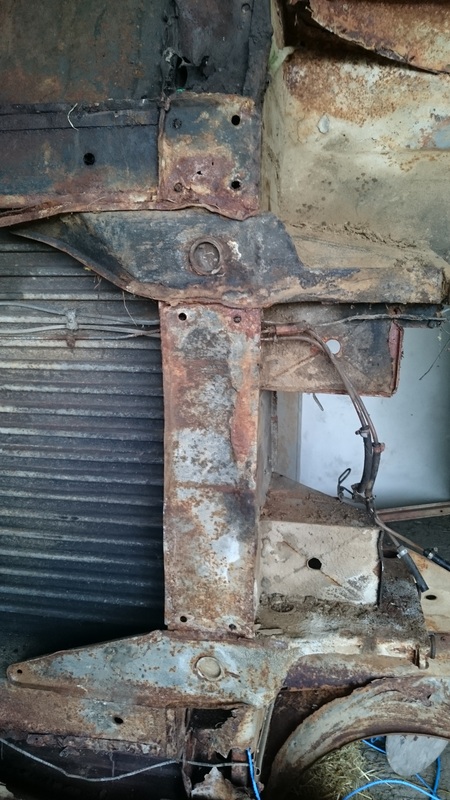
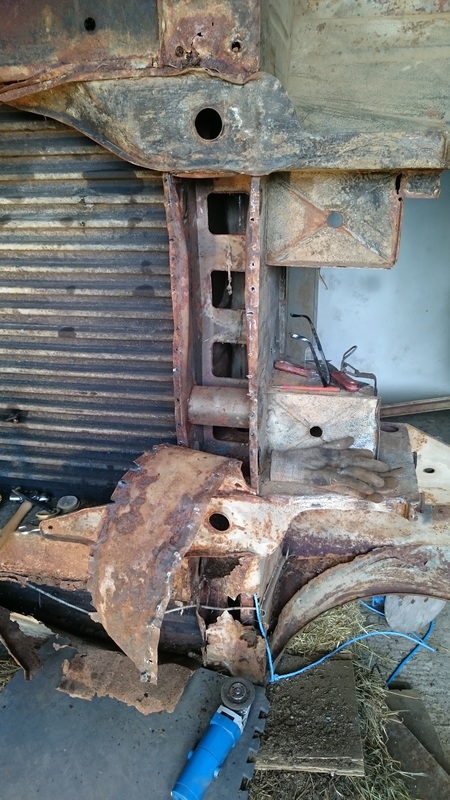
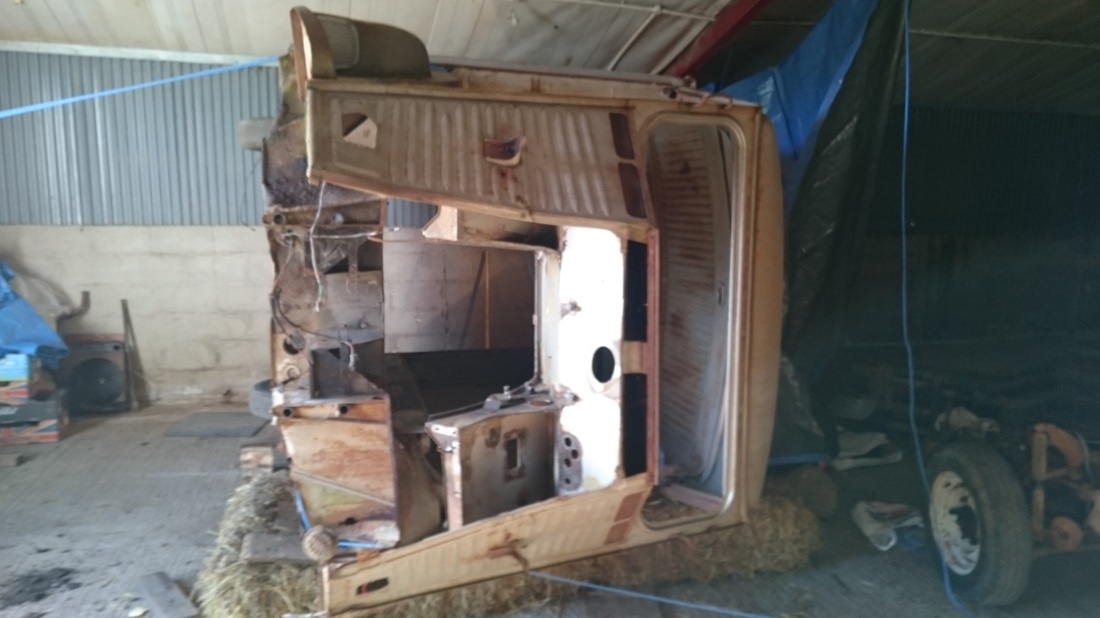
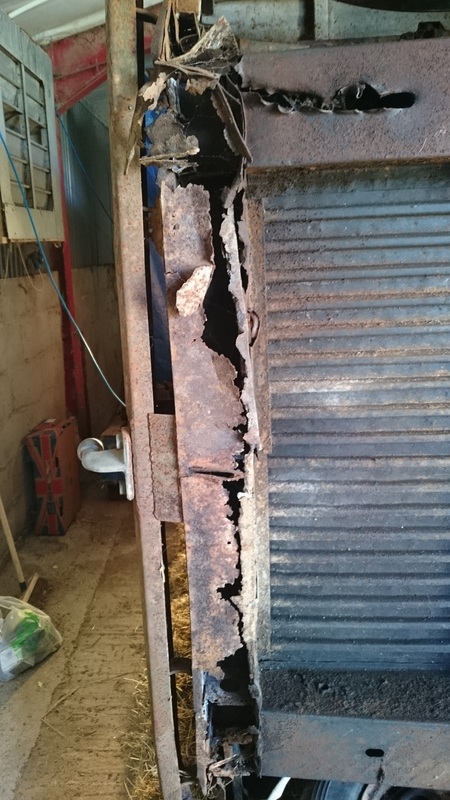
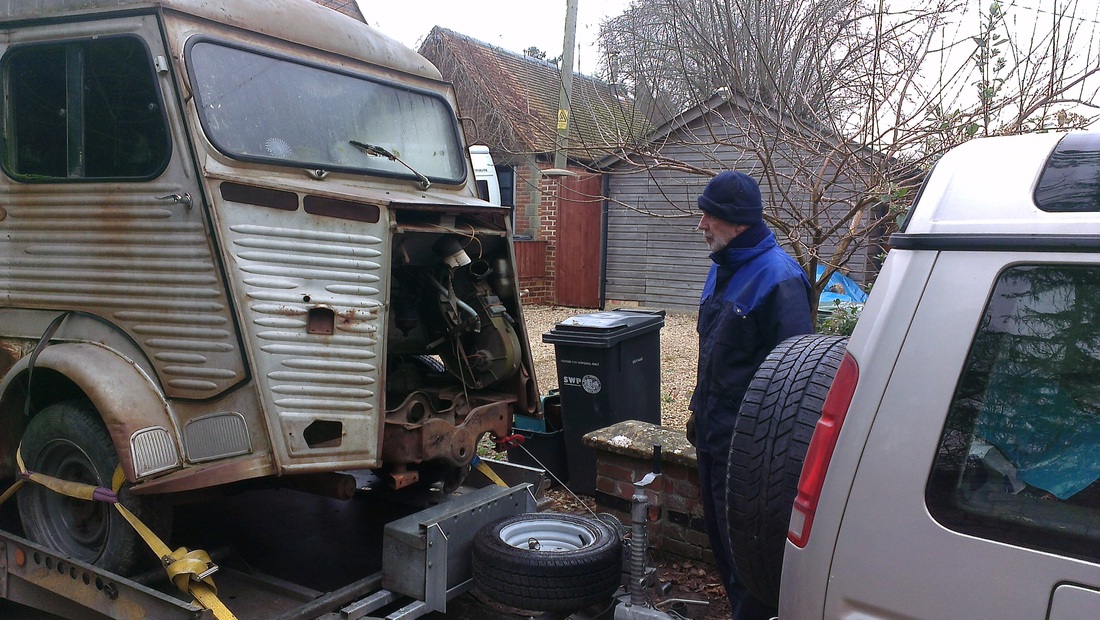
Remarkably other than some light surface rust, the van hasn't changed at all so we got back to it, with a petrol compressor and generator, cleaned the metal and have painted it with a primer. The welder works fine with the generator and we have at last started putting metal back on Rusty!